|
| Finished Dakota Lite, etched, oiled and ready for war. |
Being raised a farm boy and hunter most of my designs and projects tend to concentrate more on function than appearance. But, there is a part of me that longs for
Holland and Holland style bespoke elegance, the gentlemanly art of British field gear.
An old friend said his brother was heading to Afghanistan and wanted a nice knife to send him over with. Being a support unit it is less likely that they will see combat so I wanted to make a show piece that is still deadly if the need arose. I chose my previous Dakota model that I made for V Lazy J leather, as I'm very fond of it. As you rarely see a belt knifes blade, the leather and handle need to stand out to show off a bit. I don't own a $250k shotgun, but know one when I see it and wanted to give this soldier a bit of a show piece.
The original Dakota was .25" thick and very heavy the Lite model is 5/32" to drop a bit a of weight and make the balance more centered.

It is a rather large handle at almost 5" long with a deep finger guard. I chose birdseye maple and brass pins for the handle with a red fibre spacer along the spine. To really make this stand out I went to a technique of tobacco pipe making and used a stain to make the grain really pop.
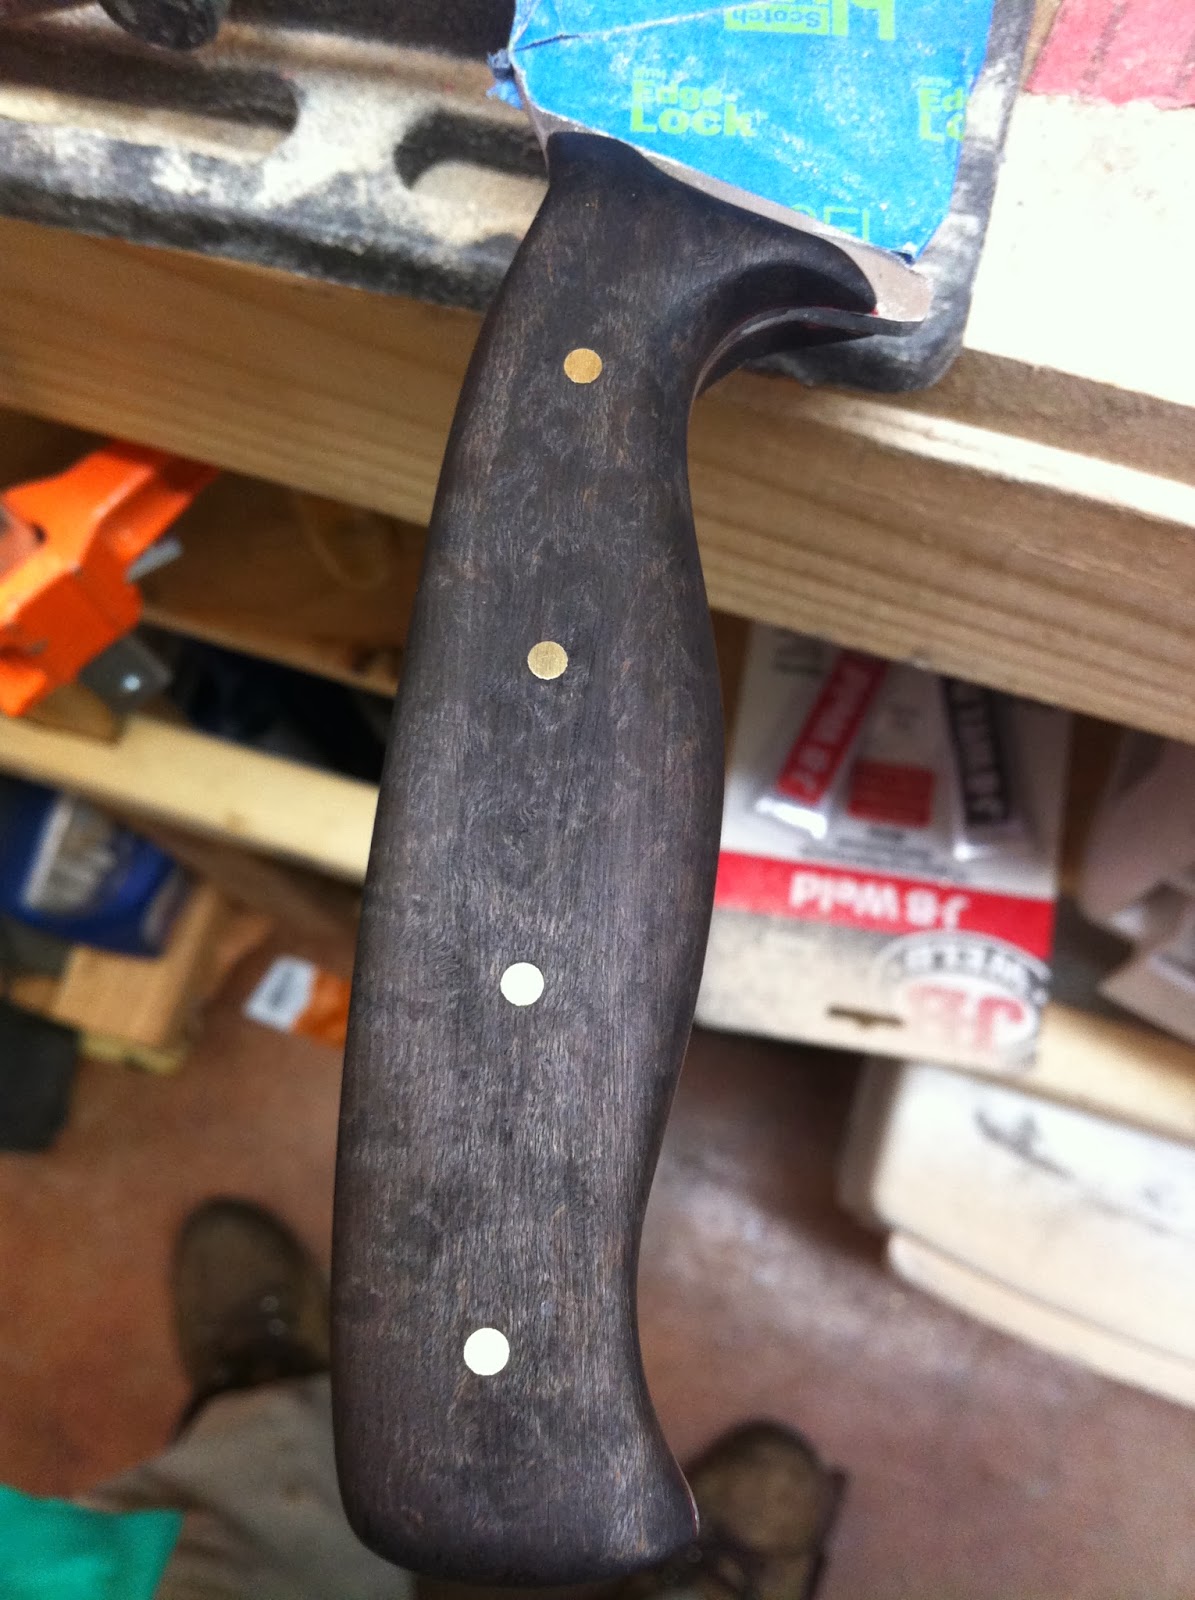
After shaping and sanding up to 220 grit the handle is dyed black. Now here is the trial and error portion, to get the grain back requires sanding with patience. Because you need to predict the final look before you get there. Sand off to much before getting to your final grit and the dyed grain will be lost as it doesn't completely penetrate the wood. By lightly sanding the dye will remain in the grain and add contrast to the wood. I start at 220 for quick removal and move up to 600 (or 1000) depending on the wood type.
This has been sanded to 400 removing much of the dye but adding contrast to the birdseye pattern in the maple. This will also show and frustrating scratches or divots that were previously missed. I have had to completely sand off the dye and start over on pipes due to missed imperfections. Be patient and this can add a whole new level of wow to projects.
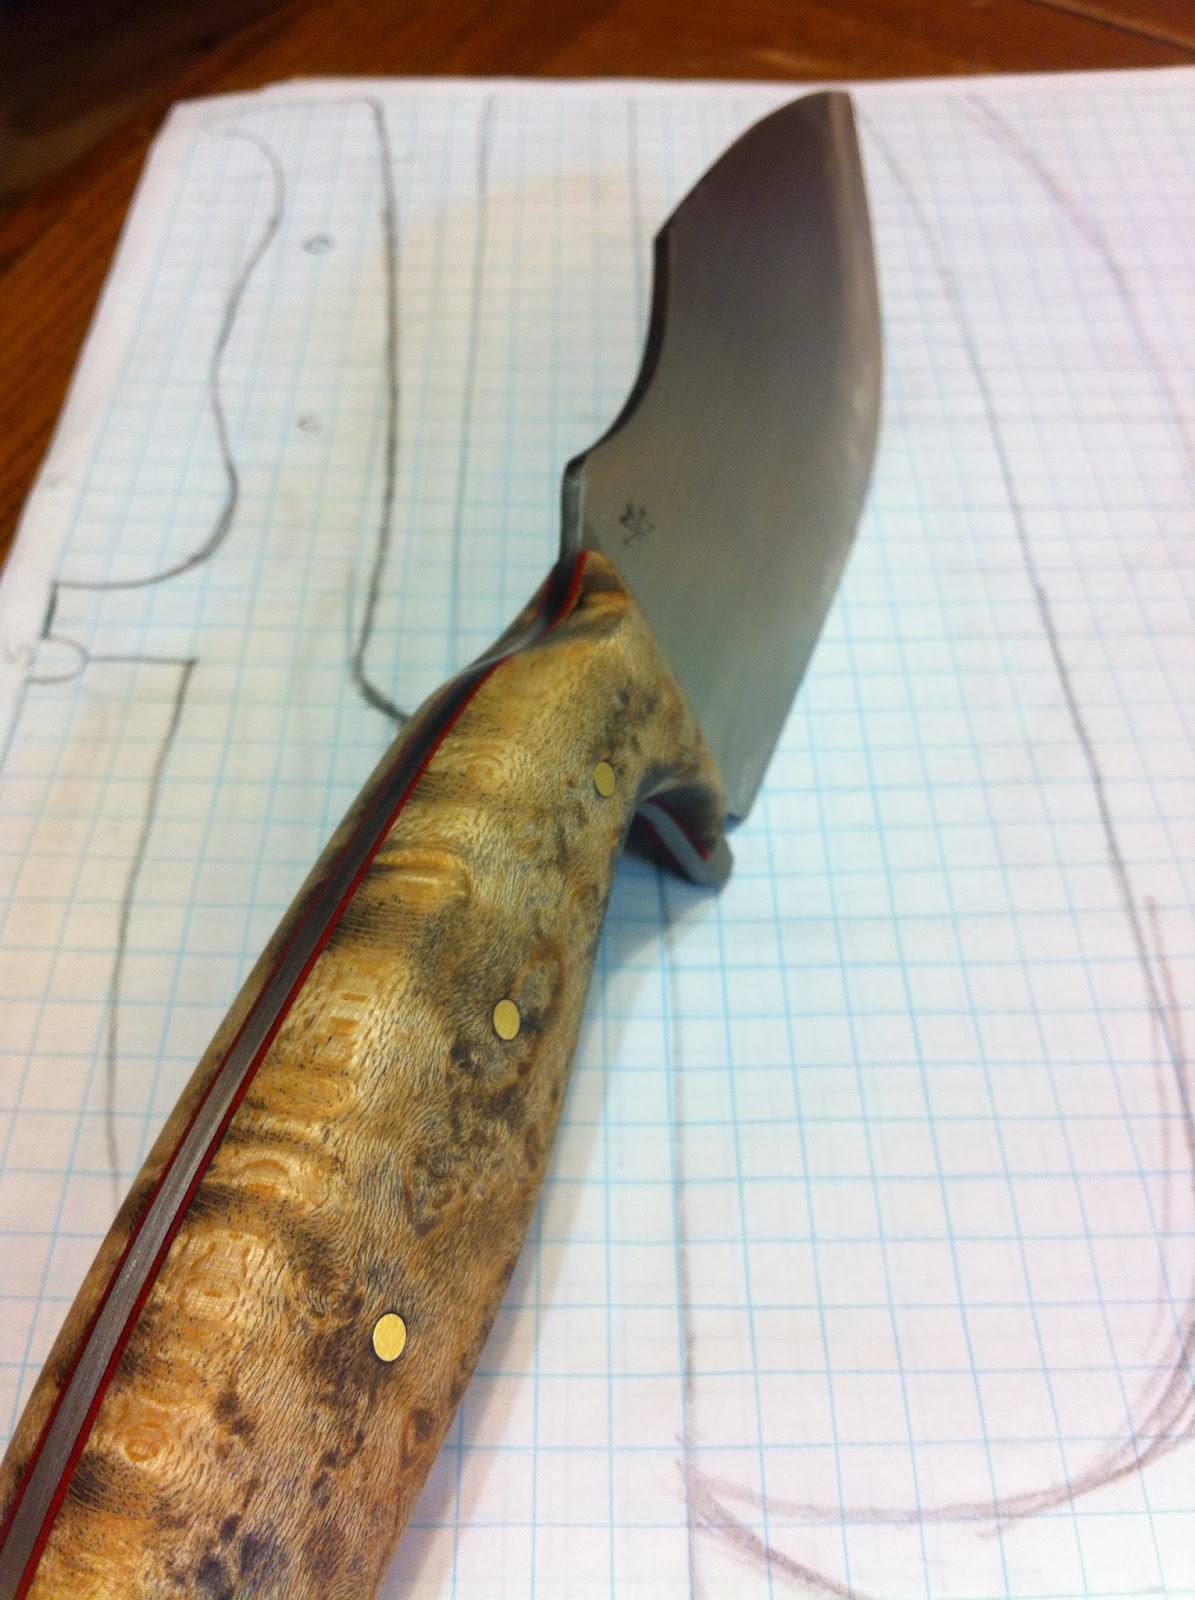
Sanded to 600 and ready for the Tung oil finish. Oil is not the most durable finish but is easily retouched and with heavy figured wood it will add a 3D effect if enough layers are applied. This handle had seven layers of oil applied which took 8 days to achieve. The handle is polished with steel wool of different grades between each layer to remove imperfections.

After the oil has cured, a buffing compound is used to bring the luster up and remove any small scratches from the steel wool. The final and nerve racking step is to apply a hard carnauba wax with a high speed buffing wheel to add further protection. Do not rush this step or try to do this if you are not focused. I honestly wait until I'm in the right mood to do this. The wheel can grab the knife from your hands and launch it across the shop or accidentally brushing the metal spindle can ruin weeks of work in an instant.

Sheath was made in house out of vegetable tanned 8oz leather. Because of the gloss finish on the handle the snap has a leather cover under it so the finish won't be marred. The leather is waxed to improve water resistance and give it that soft feel that good footwear should have.
I'm not comparing my work to fine British craftsmen like those at H&H, but they definitely inspire the work I do.
Ordered by a brother, built by a friend, just how it should be.